
In my previous post Database Continuous Integration and Delivery (CI/CD) using Azure devops – Part 1
described how to create new, empty database project in Visual Studio. One of the ways how to import an existing database (from a server) was import database.
Database CI/CD Implementation
Now the your project in under source control, we can proceed to implement database continuous integration and delivery (CI/CD) pipeline.
Build definition
Navigate to your azure devops environment. Go to Pipelines in your project and create a new Build pipeline and choose New Build pipeline.

You can use different source control, based on your project requirement. I am using Github for this demo. Connect to your Git repository by using Service connection or using Github personal access token. Once you select the git repo, you can choose the default branch for your builds.
 Select the template. I’ll be using Configuration as code through YAML, to make the code check-in in my source control. But you can choose out-of-box options from User Interface to run the build.
Create the build.yaml file in solution and browse the location to point to build.yaml file.

Having got this far, we can go ahead and select “Save”, and a new build will be created using the “DatabaseDemo” build definition we created earlier.
Create the steps in build.yaml file to build the solution and creating the artifacts after the build. The code goes as….
//Define the build agentname: $(Rev:rr)resources:– repo: selfqueue:name: Hosted VS2017demands:– msbuildsteps://Define the visual studio build– task: VSBuild@1displayName: ‘Build solution **\*.sln’inputs:msbuildArgs: ‘/p:DeployOnBuild=True /p:WebPublishMethod=Package /p:PackageAsSingleFile=true /p:PackageLocation=”$(build.artifactstagingdirectory)”‘platform: ‘Any CPU’configuration: Releaseclean: true///copy .dacpac file to taraget folder
– task: CopyFiles@2displayName: ‘Copy Files to: Demo.Database’inputs:SourceFolder: Demo.DatabaseContents: ‘**\*.dacpac’TargetFolder: DatabasePublishFiles//publish the artifact to destination folder
– task: PublishBuildArtifacts@1displayName: ‘Publish Artifact: Database’inputs:PathtoPublish: DatabasePublishFilesArtifactName: DatabaseOnce the build is triggered and finished, the artifacts with .dacpac file will get generated in target destination.

Release definition
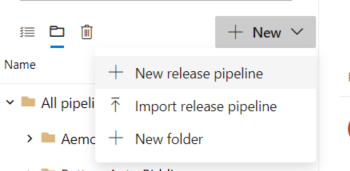
Navigate to Pipelines > Releases and create a new empty Release pipeline.

Set Artifacts
Add the artifacts – choose Source as the build pipeline producing the artifact.
Add the task by selecting the Azure Database Deployment.

Add the required field in the template.
Setting up Environments
This way you can set up the task for individual environment or clone the existing task.

You’re done!
